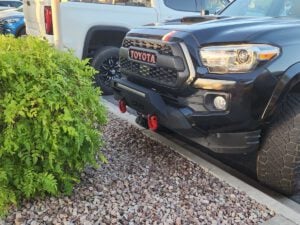
Toyota Tacoma Viper Cut Mod (Explanation, Photos & More)
A "viper cut" allows for larger tires on your 3rd gen Tacoma with any rubbing. This modification can be done with a few basic tools.
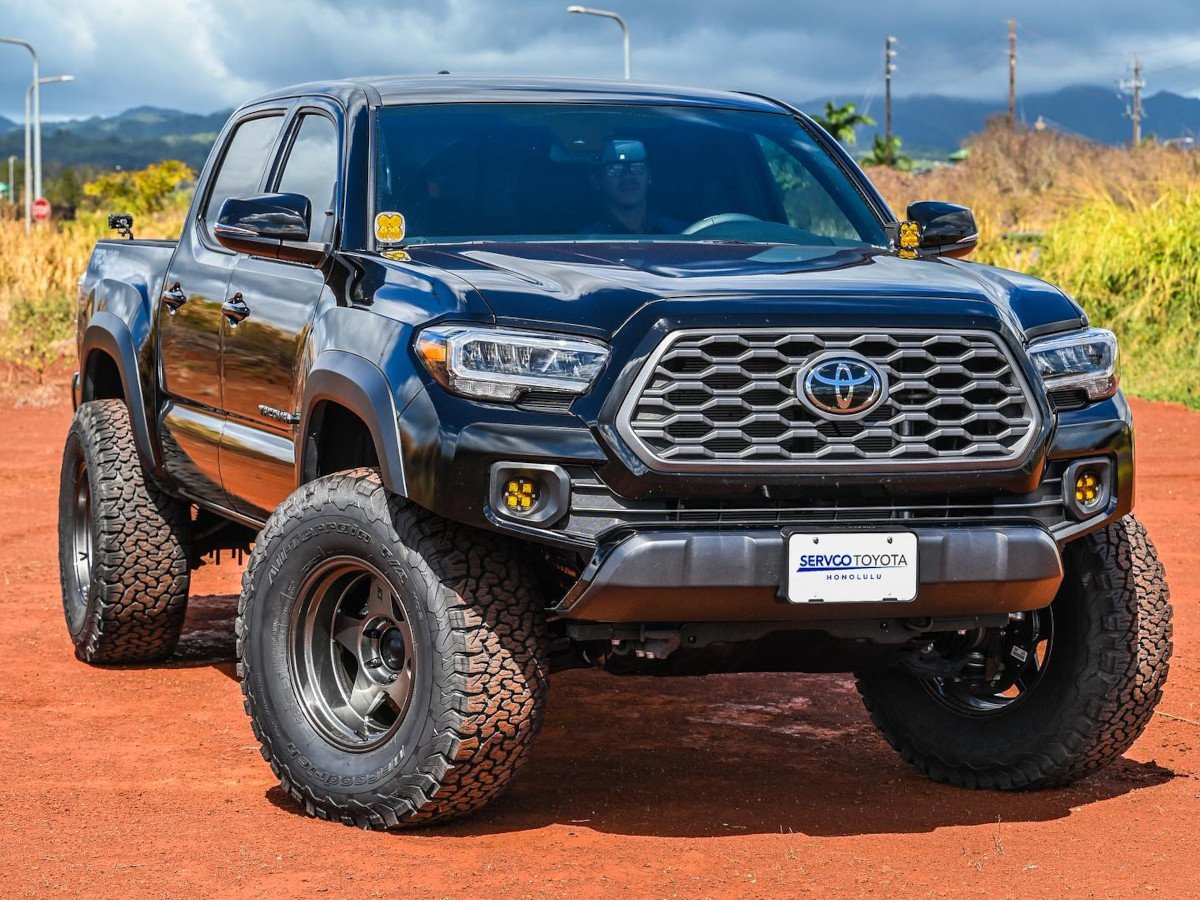
While many third-generation Toyota Tacoma trucks never see dirt, there’s a dedicated group of adventurers who hit the trails on weekends and holidays.
Installing larger tires assists these explorers by increasing ground clearance under their Tacoma along with providing the opportunity to change to a more aggressive tread pattern.
A simple, popular modification to accommodate larger tires has earned the name “Viper Cut”. Keep reading to learn what it is, why you might want to modify your Taco with a Viper Cut, and how you make a Viper Cut.
Affiliate Disclosure:
As an Amazon Associate we earn from qualifying purchases at no additional cost to you. Thank you for supporting our website.
What Is a Viper Cut?
When installing larger tires on a third-generation Toyota Tacoma, the truck owner typically encounters tire rubbing on the backside of the front bumper and inner fender liners. Certainly, one could hack away with a saw and cut back at the plastics that form the bumper, but that would be unsightly.
Instead, some clever individual or individuals found that by following the molded pattern of the bumper, the cut could be especially pleasing as well as highly functional.
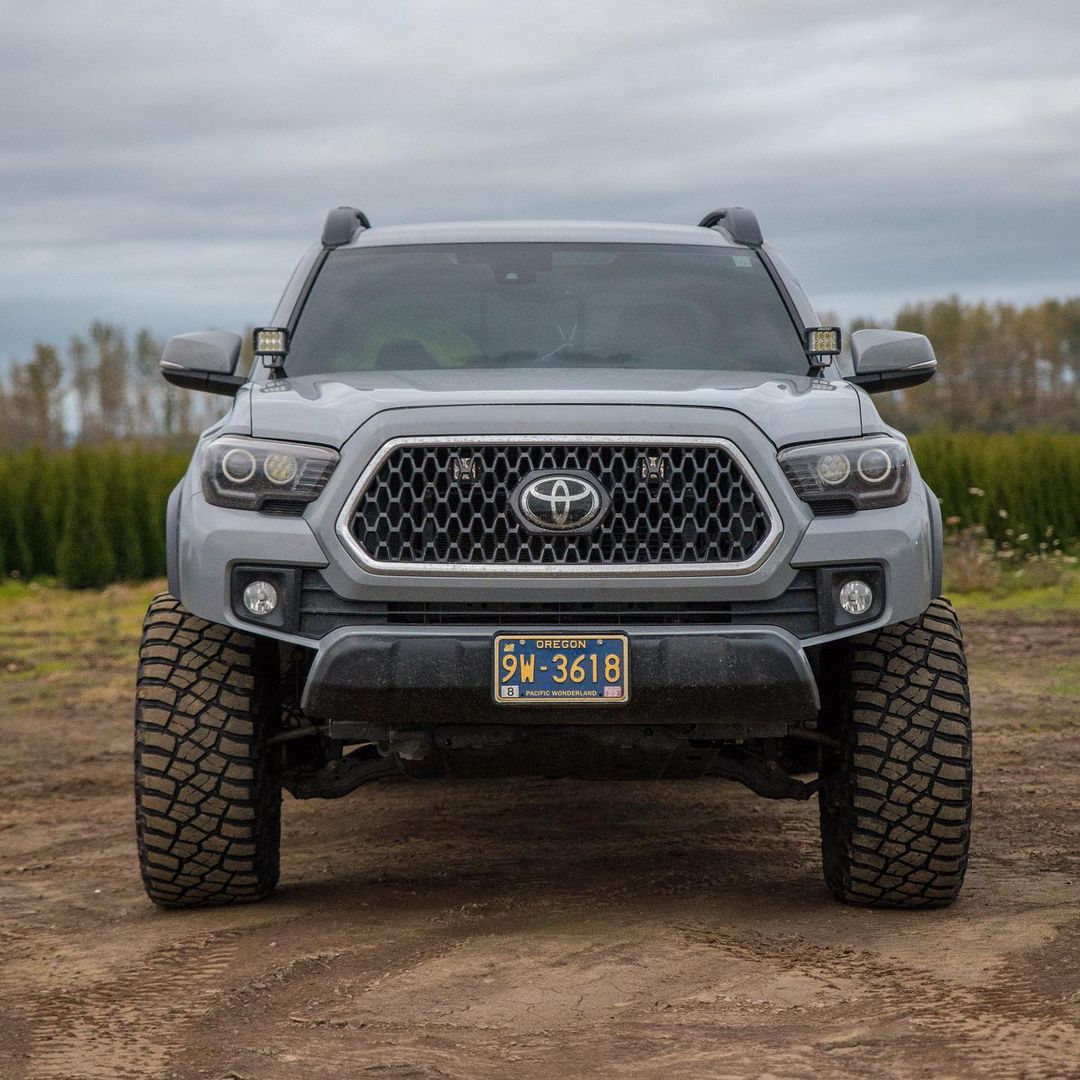
When viewed from the front, one version of the remaining bumper has two Viper-like teeth on the lower sides, quite possibly the source of the name.
As mentioned, the Viper Cut is also attractive, giving the Taco a more aggressive front-end appearance. Because of that, it can also be found on trucks that really see mud stuck between tire tread blocks.
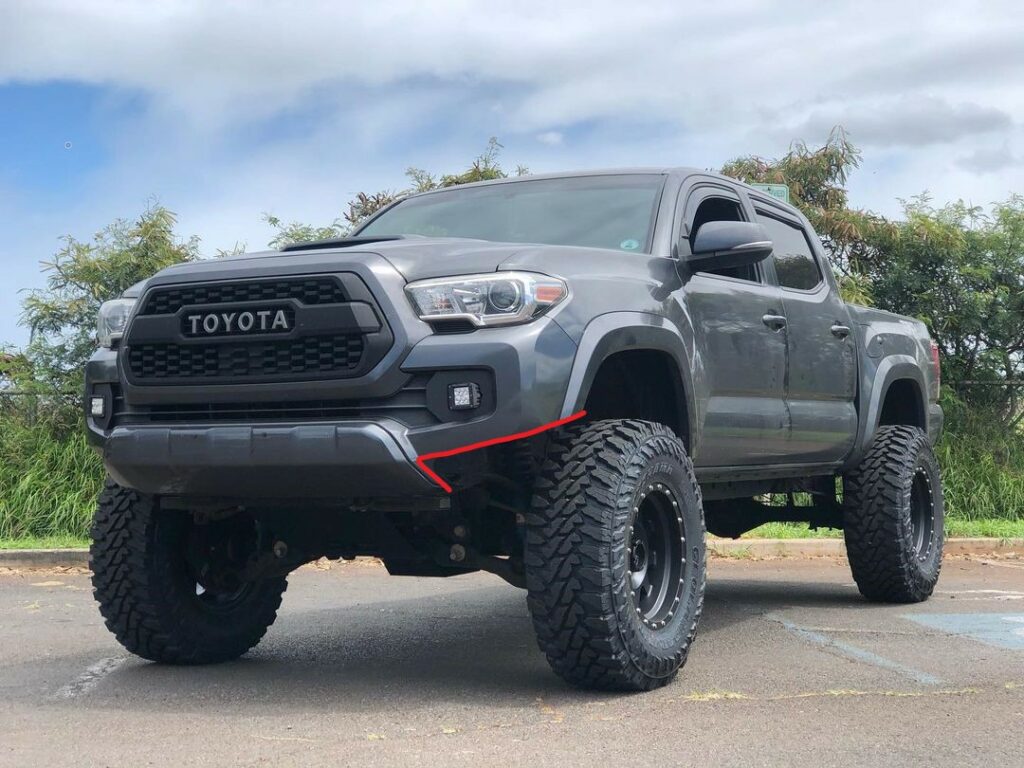
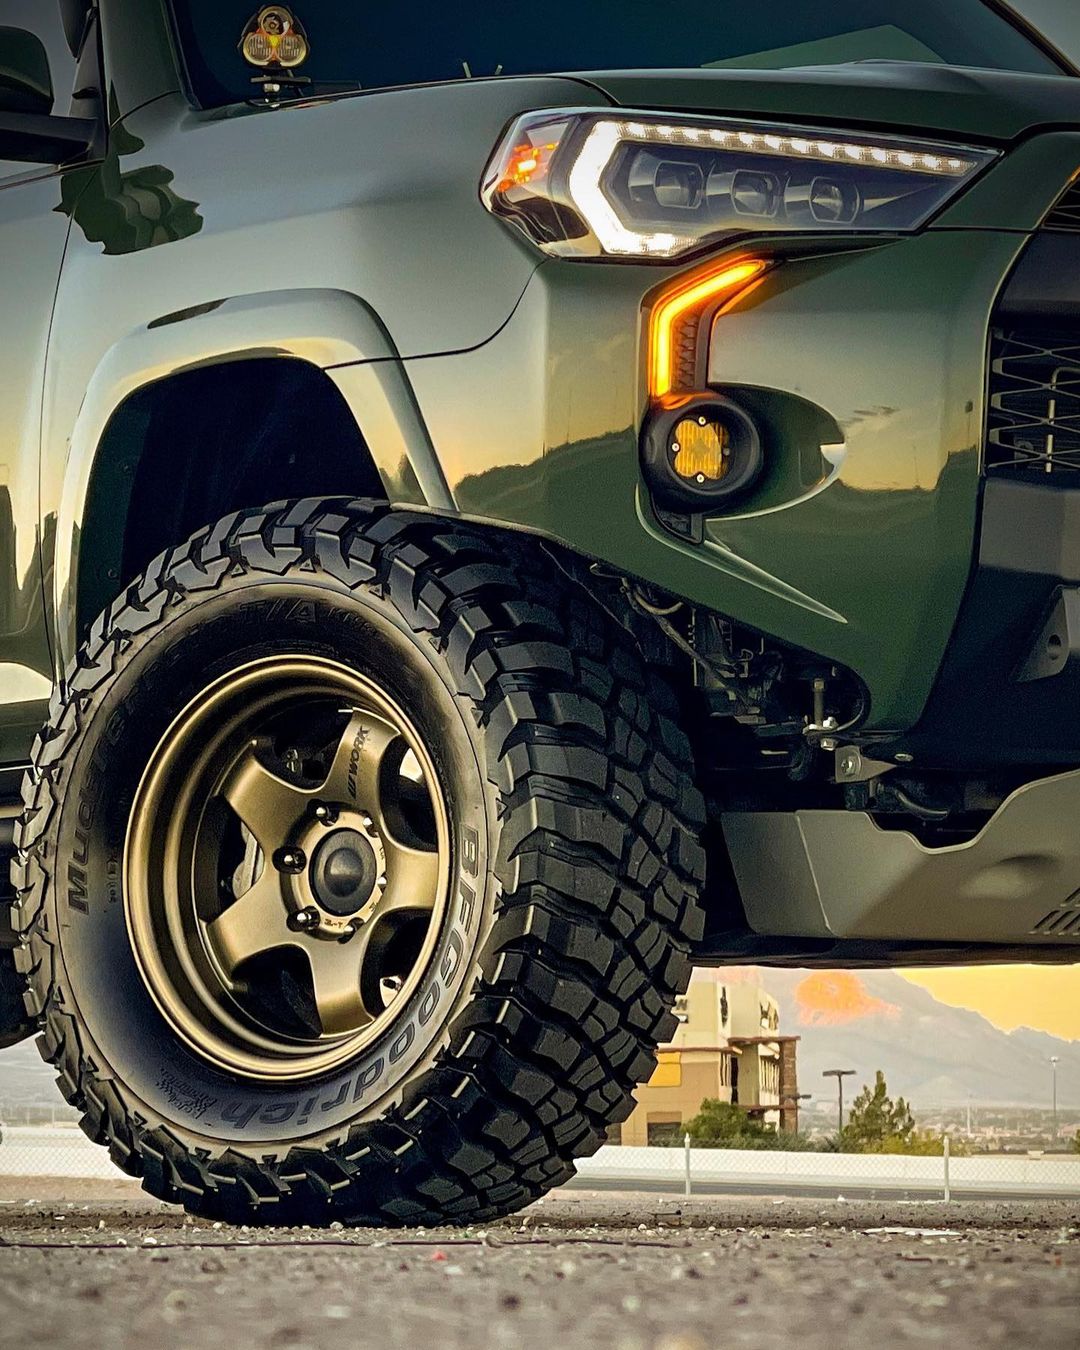
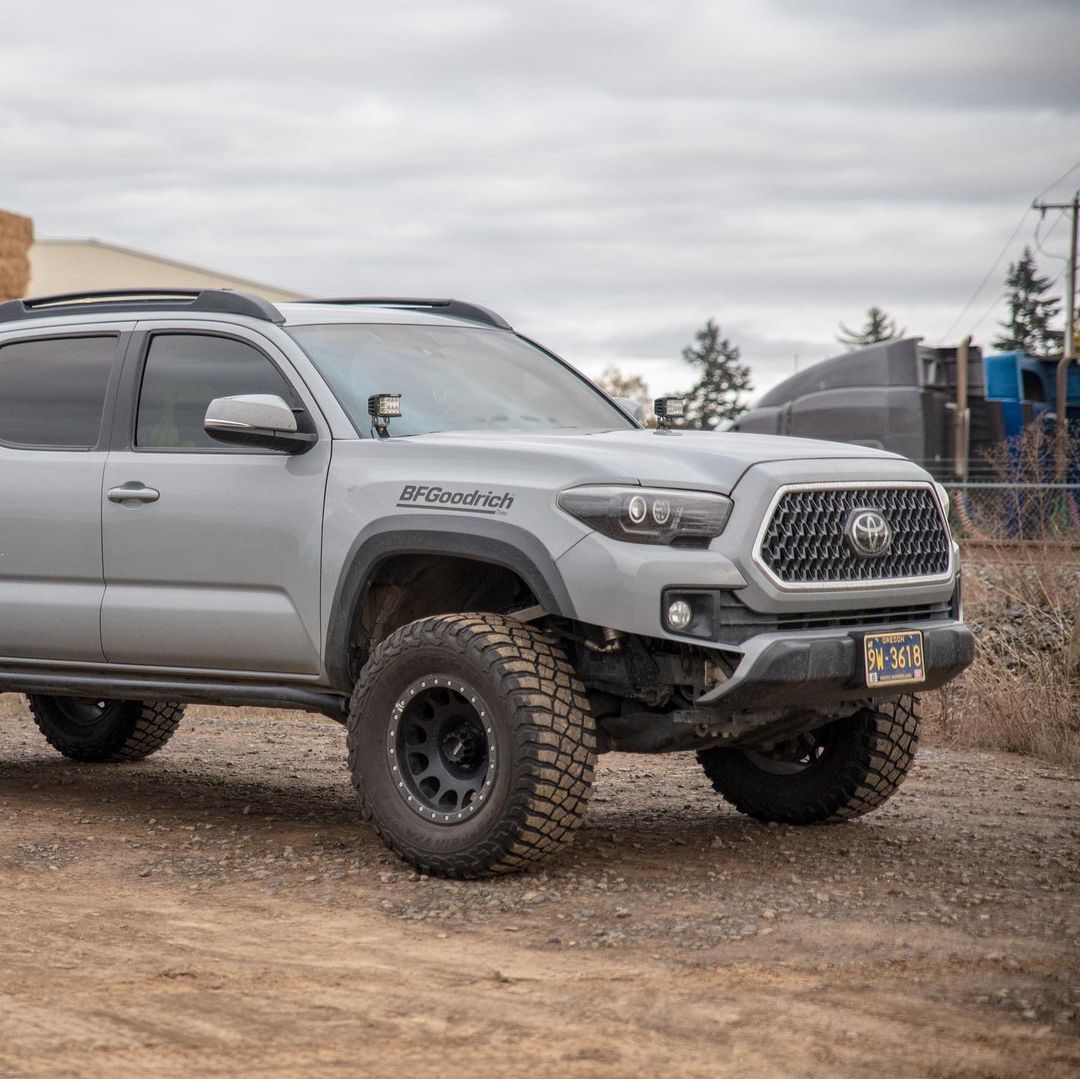
The red line is where the viper cut has been performed.
Pros and Cons
A big pro of the Viper Cut is that it’s great for off-roading as it allows for larger tires without rubbing. It can upgrade the appearance of your truck with a more aggressive appearance as well. Viper cuts are also inexpensive to DIY and the modification is quick and easy to plan and execute.
However, you will have to make sure both sides are even if you’re trying to complete the cut on your own. Unfortunately, you can’t reverse a Viper Cut if you messed up the trimming or just don’t like the looks. The only way to reverse it is with a new bumper.
Before and After
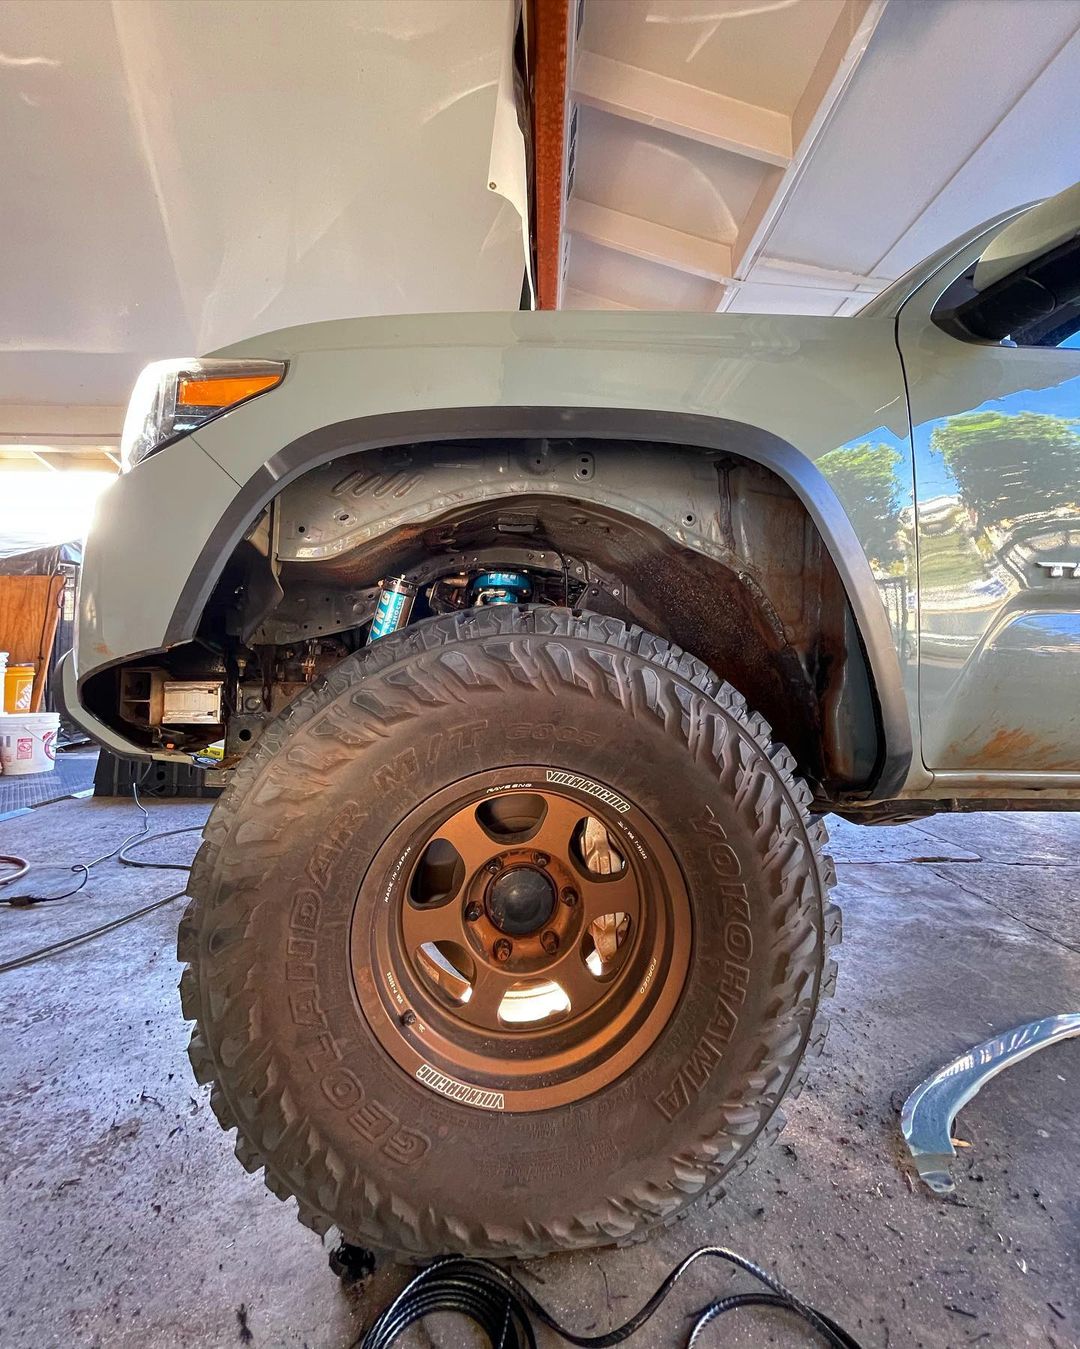
A completed Viper Cut will trim the sides of your Taco’s front bumper inward to create more space for the tire. It’s pretty apparent when you see a Tacoma that’s had a Viper Cut modification, even a minimal cut. Many prefer the aesthetics of this look.
Check out this before and after:
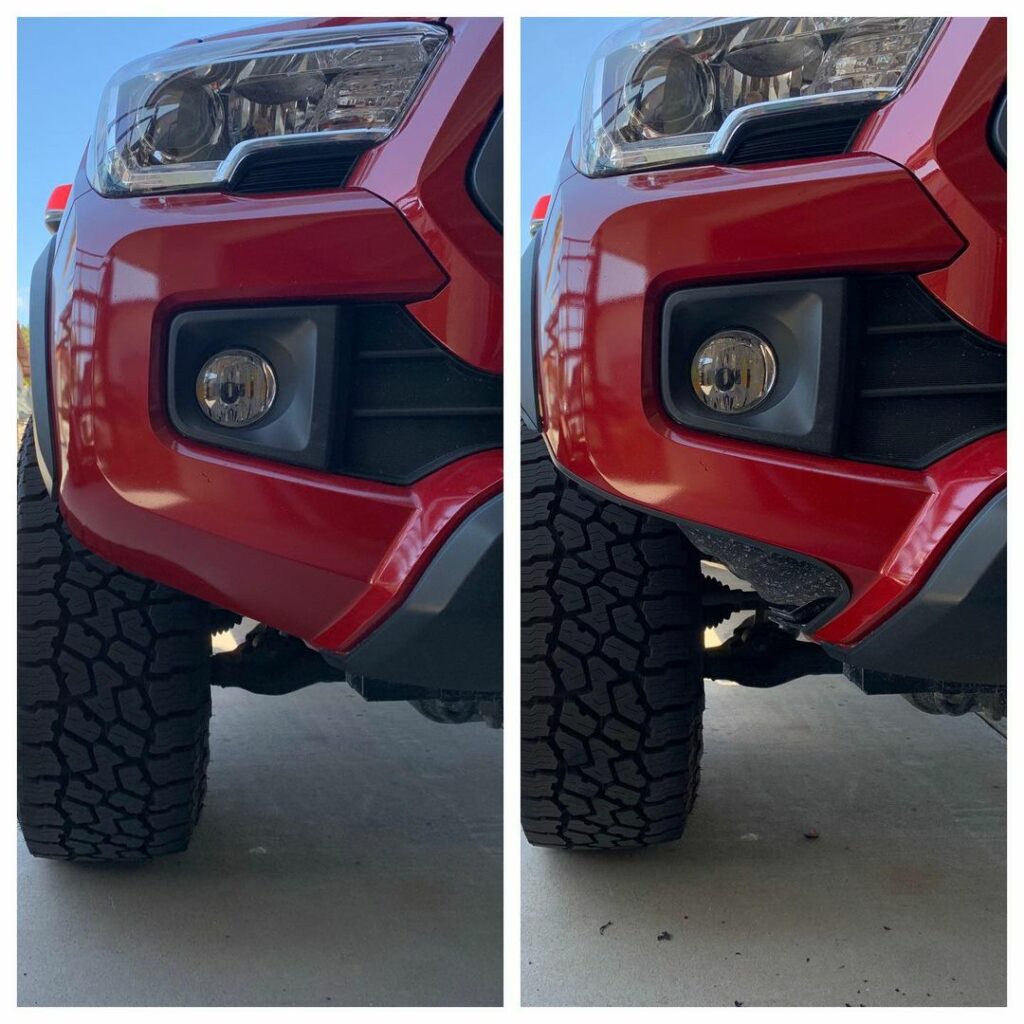
How high you take the Viper Cut will affect how it looks and performs.
You can cut more or less off, depending on the style and clearance that you’re looking for. Typically there are three patterns you can follow, one high, one low, and, you guessed it, one in the middle.
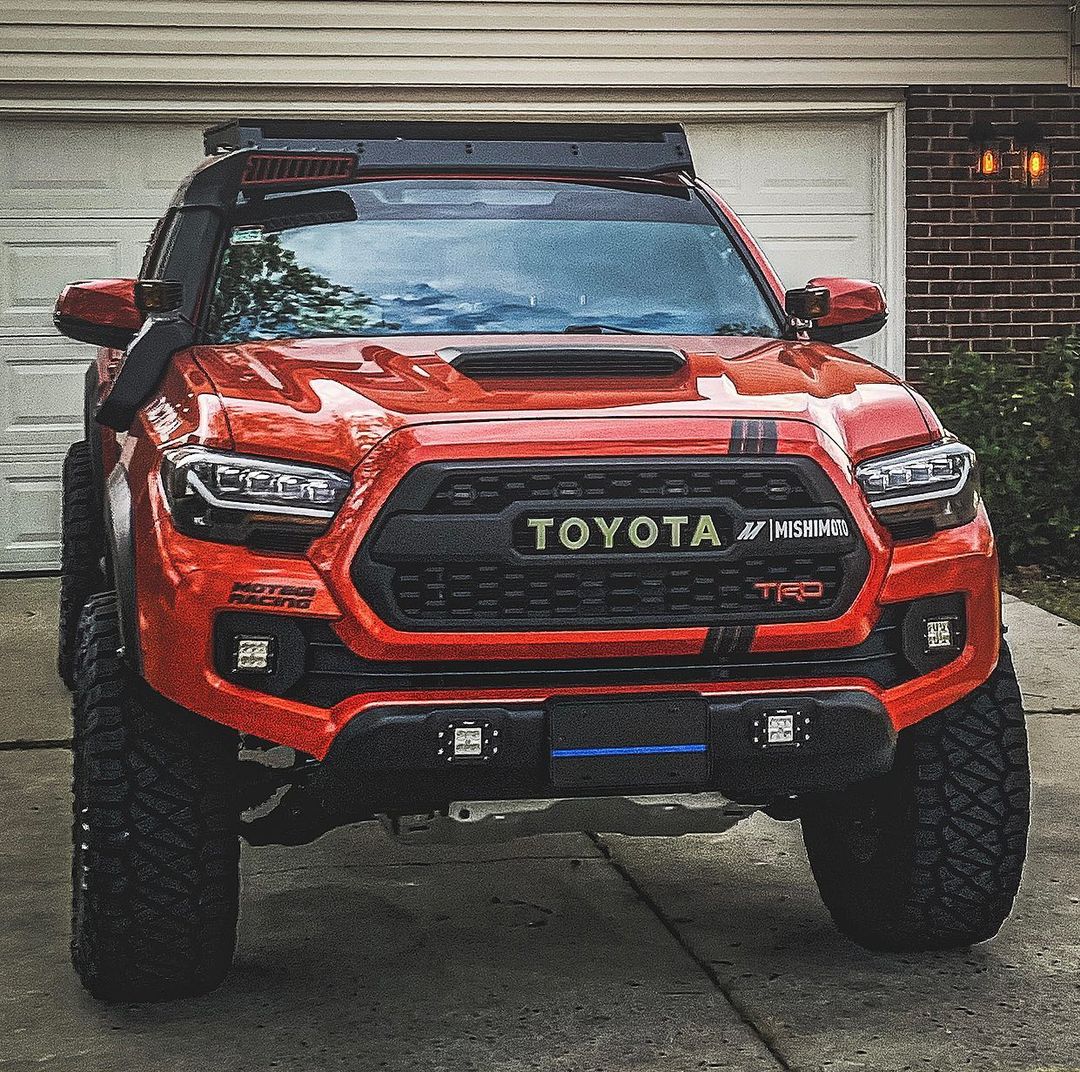
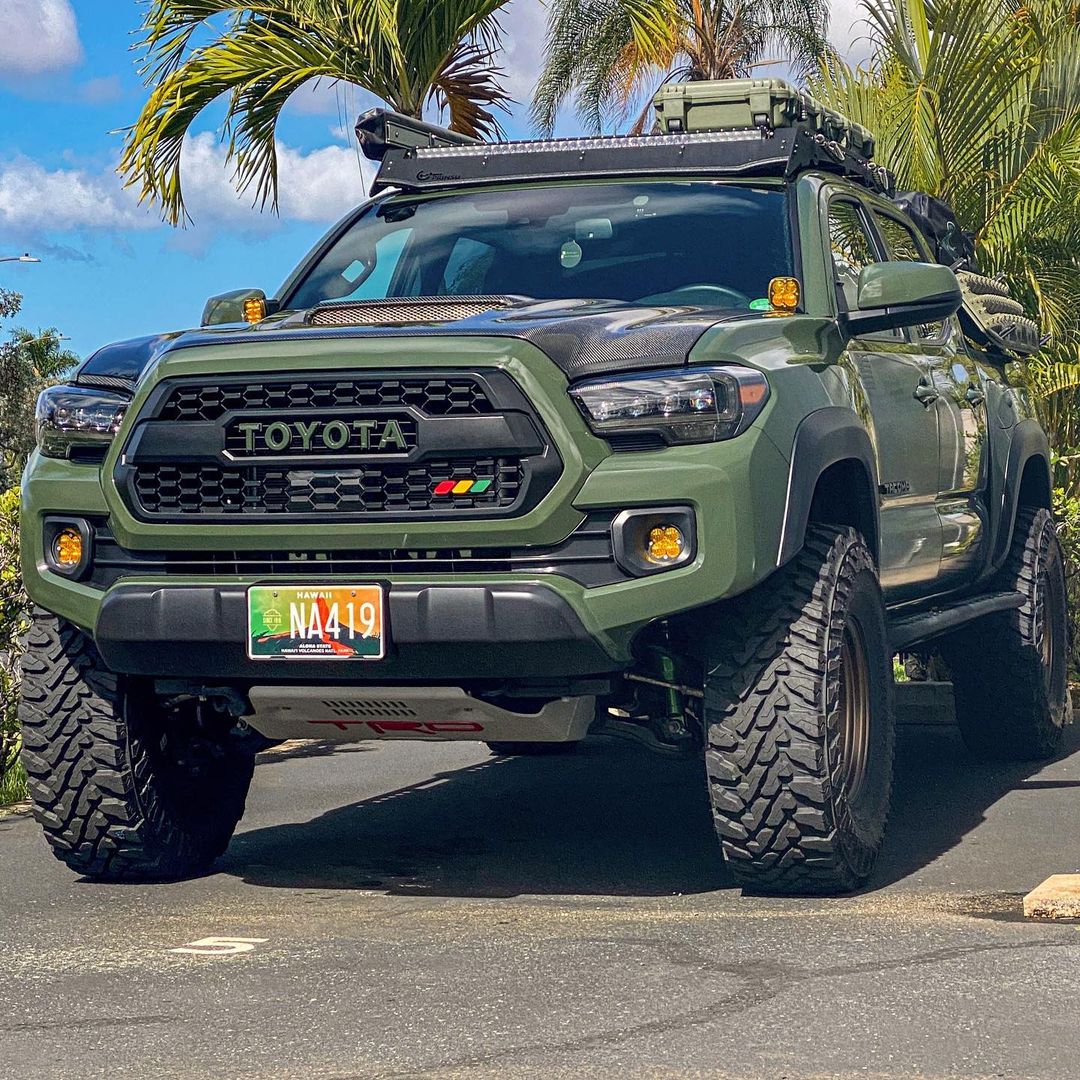
Check out our photo gallery in the next section to see different variations of Viper Cuts.
Photo Gallery
How to Perform the Cut
The Viper Cut is a pretty simple modification to complete on your own. To get started, you’ll need to gather some basic materials:
- Rotary tool
- Cutting blades
- Masking tape
- Edge trim
- Utility knife
- Safety goggles
- Heat gun (optional)
Step 1
When you have your supplies together and you’re ready to start, begin by marking off the line where you’ll be trimming with masking tape. Make certain you’re matching both sides as you’re marking.
Step 2
Next, you’ll make the cut with your rotary tool along the line you created. Be sure to put on your safety goggles before beginning this step.
Step 3
For the inner fender liner, you can either cut it directly or use a heat gun to bend it back.
Step 4
Finally, install some automotive edge trim to clean up the area and make it look more professional.
With that, you’re ready to get on the road (or off road) with your trimmed Tacoma!
For a more detailed explanation of the process, check out this article.
What Tacoma Owners Are Saying
Tacoma owners are generally happy with their viper cuts when it comes to utility and aesthetic. Here’s what a few users had to say on online forums:
On Reddit, user cameronAD responded to another user asking what the point of the viper cut is. “From a functionality standpoint: helps clear space for larger tires in the future and it’s more clearance space on trails too. From an aesthetic standpoint: it really just “helps” the front end look more “aggressive”. I have the textured bumper which I hate so I figured I might as well try to do something different while I wait to get a different one.”
On Tacoma World, user MESO posted “It’s mainly for the 4Runner crowd. I haven’t seen the “viper cut” on a Tacoma. I don’t think it would look good on our bumpers. On the T4R’s it gives you a little more ground clearance but it’s mainly for looks IMO.”
On the same thread, user Lightfoot1320 posted “I really like the way it looks, just have been apprehensive to cut, LOL.”
Expert Tip
Instead of cutting up your expensive OEM bumper, consider buying a replica bumper off Amazon or eBay.
These parts are not OEM but made by reverse-engineering the factory part. These are made cheaply and don’t typically have the fit and finish of an OEM bumper.
Then you can either store your OEM bumper for reattachment, if that’s worthwhile, or sell it to pay for other modifications or upgrades.
Frequently Asked Questions
Related Content
Is the Viper Cut For You?
The Viper Cut is a popular modification to Toyota Tacoma trucks for plenty of reasons, the most notable being clearance for large tires and the aggressive appearance they present.. Should you want a Viper Cut your Taco front bumper, there are DIY steps listed above.
Have you made a Viper Cut to your third-generation Tacoma? Are you planning to do so? How did you decide to cut back? And what do you think of the aesthetics? We’d like to hear from you so please add your comments below.

